For Developers
Handoff's provides a command line interface, and a javascript interface for fetching tokens from Figma, transforming those tokens for the needs of each project, and shipping those tokens wherever they are needed. This section will walk you through integrating Handoff into your existing developer toolchain.
This doc assumes you've created a Figma file and published the library for that Figma file. If you haven't, please run through the Quick Start.
The Handoff development toolchain is built on an Extract, Transform, Load (ETL) model. This dev quickstart will get you up to speed on how to fetch tokens with the CLI tool and run the built in transformations. You will then have a set of tokens you can integrate into your project.
Once you have the basics export working, you can read further on custom transformations and integrating tokens.
Developer Quick Start
You can quickly fetch tokens from a Figma project. You'll need the following
- Access to a Figma File with a published library
- A Figma developer token
- Node 16+
To see all the CLI options avaliable to you type `handoff-app help` or view the CLI Reference page
This is a quick video overview showing how you can use the cli.
Install and Fetch Tokens
Start by installing the handoff CLI.
Install Handoff, and fetch tokens1npm install -g handoff-app
2mkdir handoff-project
3cd handoff-project
4handoff-app fetch
Handoff will ask for a developer key. You can generate this key by logging in to Figma.
Provide your developer key1Starting Handoff Figma data pipeline. Checking for environment and config.
2
3Figma developer access token not found. You can supply it as an environment
4variable or .env file at DEV_ACCESS_TOKEN. Use these instructions to generate
5them https://help.figma.com/hc/en-us/articles/8085703771159-Manage-personal-access-tokens
6
7Figma Developer Key: {Enter your Development Key}
Handoff will ask for the Figma File ID you want to get.
Provide your File ID1Figma project id not found. You can supply it as an environment variable or .env
2file at FIGMA_PROJECT_ID. You can find this by looking at the url of your Figma
3file. If the url is https://www.figma.com/file/IGYfyraLDa0BpVXkxHY2tE/Starter-%5BV2%5D
4your id would be IGYfyraLDa0BpVXkxHY2tE
5
6Figma Project Id: {Enter your File Id}
Handoff will ask if you want to save these secrets to a local env. If you do make sure you don't commit them to your repo, since they contain important Figma secrets.
Do you want to store these creds1You supplied at least one required variable. We can write these variables to a local env
2file for you to make it easier to run the pipeline in the future.
3
4Write environment variables to .env file? (y/n):
If everything is correct, you will see the following
Fetch Output1An .env file was created in the root of your project. Since these are sensitive
2variables, please do not commit this file.
3
4Starting Figma data extraction.
5Alert exported: 11
6Button exported: 45
7...
8Icons exported: 24
9Logo exported: 2
10Preview template styles built
11Figma pipeline complete: 8 requests
You should see a folder created called exported in the root of your directory.
This folder contains all of the exported tokens, along with the transformations
and integration tools. You can now integrate these artifacts into your project.
View Documentation
Handoff will generate a static documentation website with all the tokens. You can launch that by running -
Start documentation website locally1handoff-app start
2- event compiled client and server successfully in 112 ms (18 modules)
3- wait compiling...
4- event compiled client and server successfully in 74 ms (18 modules)
5> Ready on http://localhost:3000
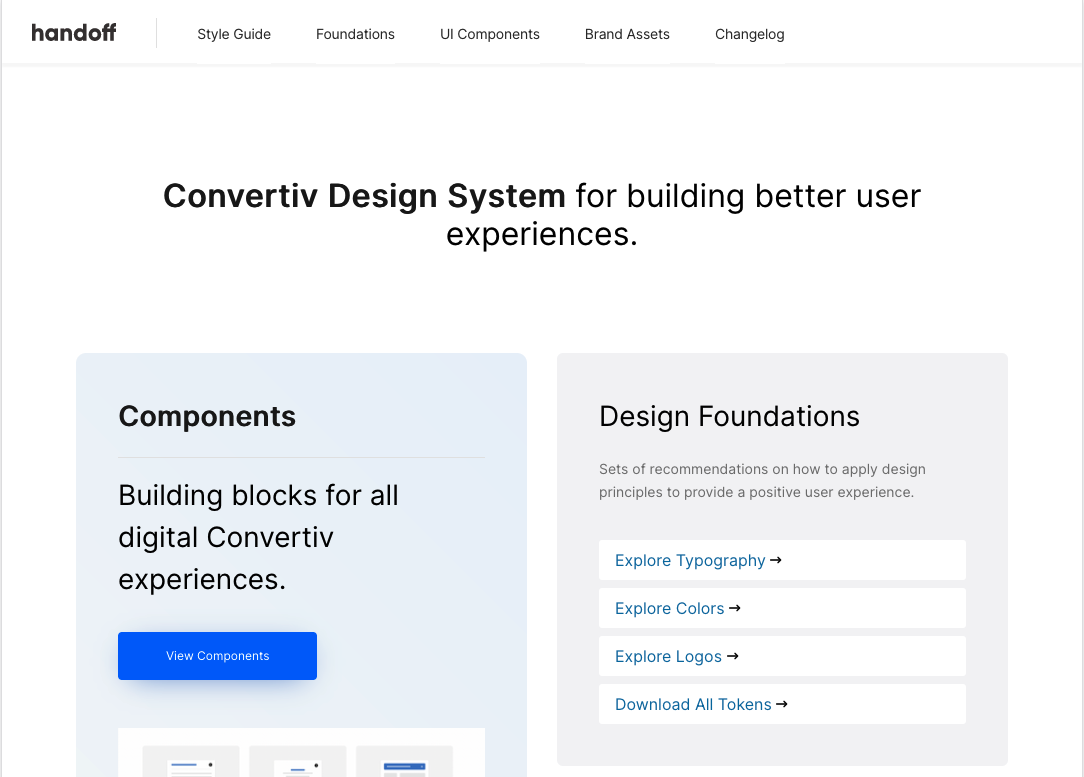
If you point a browser to http://localhost:3000 you'll see this -

This site is fully customizable. Our documentation on customization will help you customize your site.
Get Started with Integrations
In the documentation, you won't see any component previews. Handoff doesn't know how you want to construct your component markup. Handoff uses integrations to define how your tokens should be applied to markup. You can define markup, styles, and dependencies in an integration.
Our integration guide will help you build an integration from scratch, but to get started quickly, just export our Bootstrap integration.
Build the Bootstrap Integration1handoff-app eject:integration
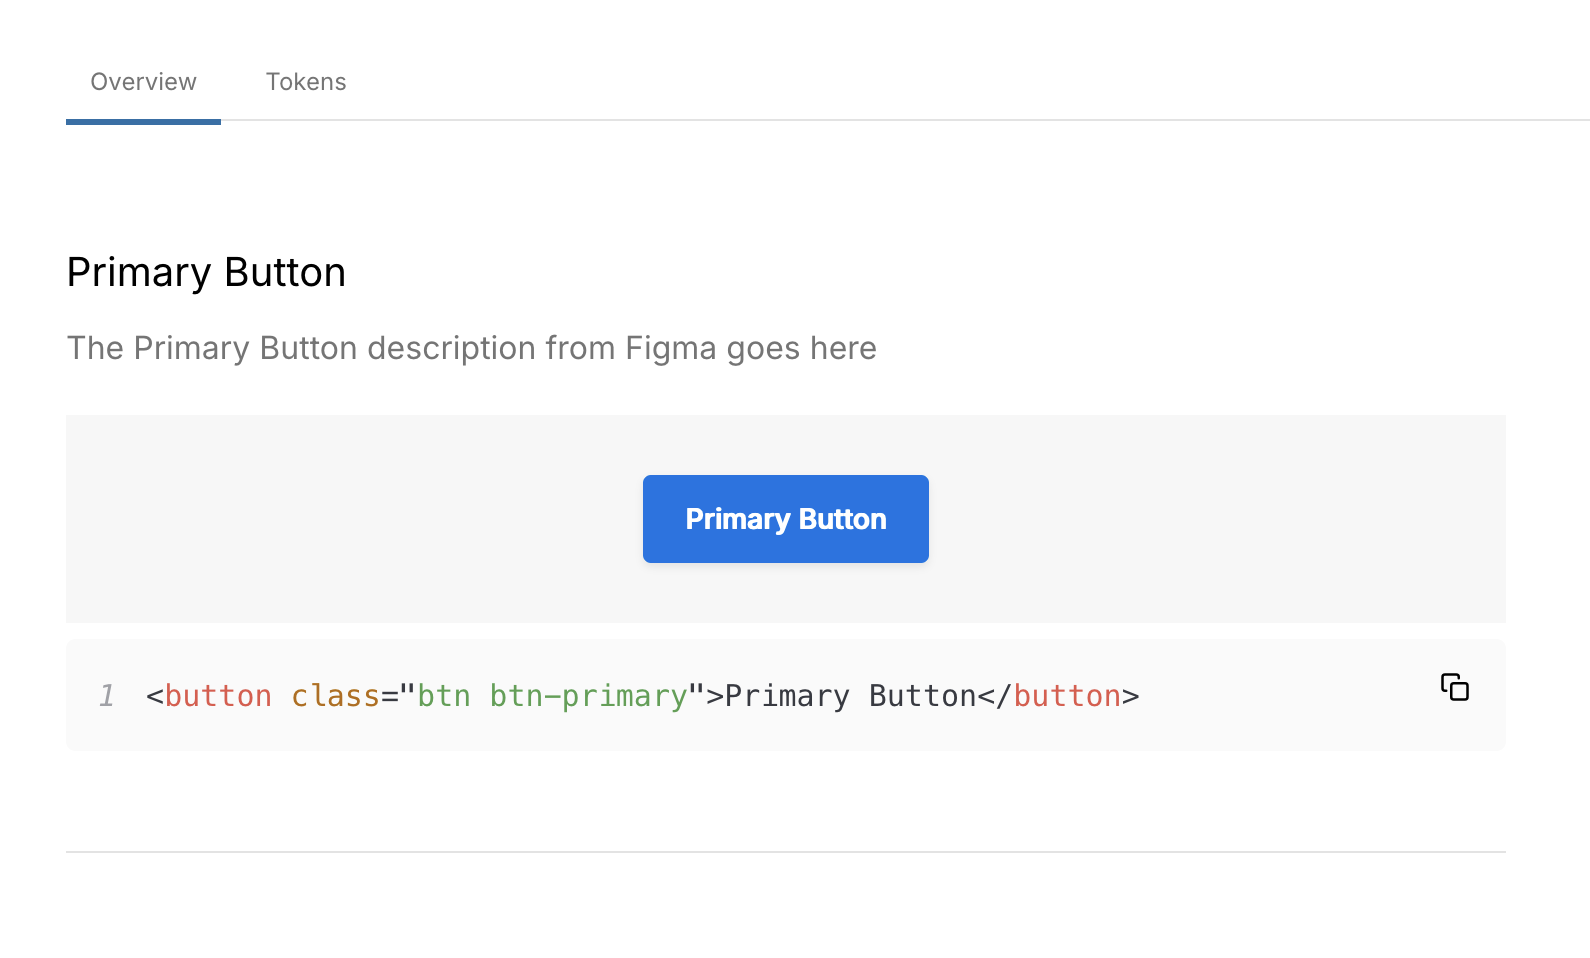
This will eject our basic Bootstrap 5.3 integration. Now if you restart your documentation site, you'll see previews of your components.
Start documentation website locally1handoff-app start
Go look at the documentation site, and you'll see previews of your components.

When you change something in the integration, you can rebuild the integration by running -
Rebuild the Bootstrap Integration1handoff-app build:integration
Exported Artifacts
By default, Handoff exports all of the artifacts to a directory called exported
in the current working root. You can customize the export directory by setting
the HANDOFF_EXPORT_PATH in the env for the CLI or javascript.
When the fetch runs, it will create a folder named with the Figma file id. This allows you to easily import tokens from multiple Figma files in the same execution and keep them separate by source Figma files.
The following artifacts are exported to /exported/{figma_file_id} automatically
when you run the fetch
| tokens.json | This is the master data file, with a json representation of all the tokens in their raw, untransformed form. This object has strong typings, so you can use it in your javascript runners. |
| changelog.json | A file that tracks the changes of figma tokens between each run. Useful for checking for changes, or rendering a visualization of changes |
| handoff.state.json | A state object tracker that will cache important data between executions to speed up future executions |
| tokens-map.json | A json array of every exported in the correct scss/css format |
| preview.json | A json containing rendered html of your components for every component you've provided markup for |
| logos.zip | A zip file of all the logos published from the Figma File |
| icons.zip | A zip file of all the icons, as SVG, published from the Figma File |
| tokens | A directory containing all the transformed tokens. This is where you will find CSS, SCSS and style dictionary files. See the full list below |
| integration | If you have the toolchain set up to publish an frontend integration, the integration will be here. You can write a custom integration for your frontend framework, and have it automatically get compiled and tested against the new tokens |
The tokens folder contains all of the transformations exported by the platform
| css | Tokens as CSS variables, grouped by component or foundation |
| sass | Tokens as SASS variables in scss files, grouped by component or foundation |
| types | SCSS map files that list all the Figma props for each component. Use these to loop over types, states, themes, brands to build scss projects. |
| sd | The tokens compiled down for the AWS style dictionary standard. These files are also compatible with the W3C Style Dictionary proposed standard |
| maps | Simple JSON map objects listing all of the tokens as key value pairs, where the key is the token name, and the value is the CSS compatible value |
Transformers
To implement a custom transformer, you'll need to write a bit of Javascript rather than using the CLI tool. A full treatment of the Handoff Javascript usage can be found on the Javascript Usage page.
A simple transformer implementation is scripted below. This example will hook into the process, search through the colors, and generate a simple JSON file with colors as an array of name/value objects.
Simple Example of a custom transformer1// Import handoff
2import Handoff from "handoff-app";
3// Initialize handoff
4const handoff = new Handoff();
5// Hook into the extract process, and return a file object that will be
6// Saved to the exported directory
7handoff.postIntegration(
8  // Documentation Object has the full tokens json structure
9  // Hook return is an array of files that will get written out
10  (documentationObject: DocumentationObject, data: HookReturn[]) => {
11    // Here we loop over the foundational colors
12    const colors = documentationObject.design.color.map((color) => {
13      // And create a simple object map
14      return {
15        name: color.name,
16        value: color.value,
17      };
18    });
19    // Then we push the object map out to a colors.json
20    data.push({
21      filename: "colors.json",
22      // Note that we convert the object to a pretty string before we write
23      data: JSON.stringify(colors, null, 2),
24    });
25    return data;
26  }
27);
28// Now we execute the fetch
29handoff.fetch();
This should give you an idea of how you can generate almost any file type from Documentation object.
What's Next
Once you have the CLI up and running, you can do a couple of things -